
Under Employee Sync, user can
- View Configurations and set default settings
- Test Department Interface
- Test Employee Interface
- Run Employee Interface
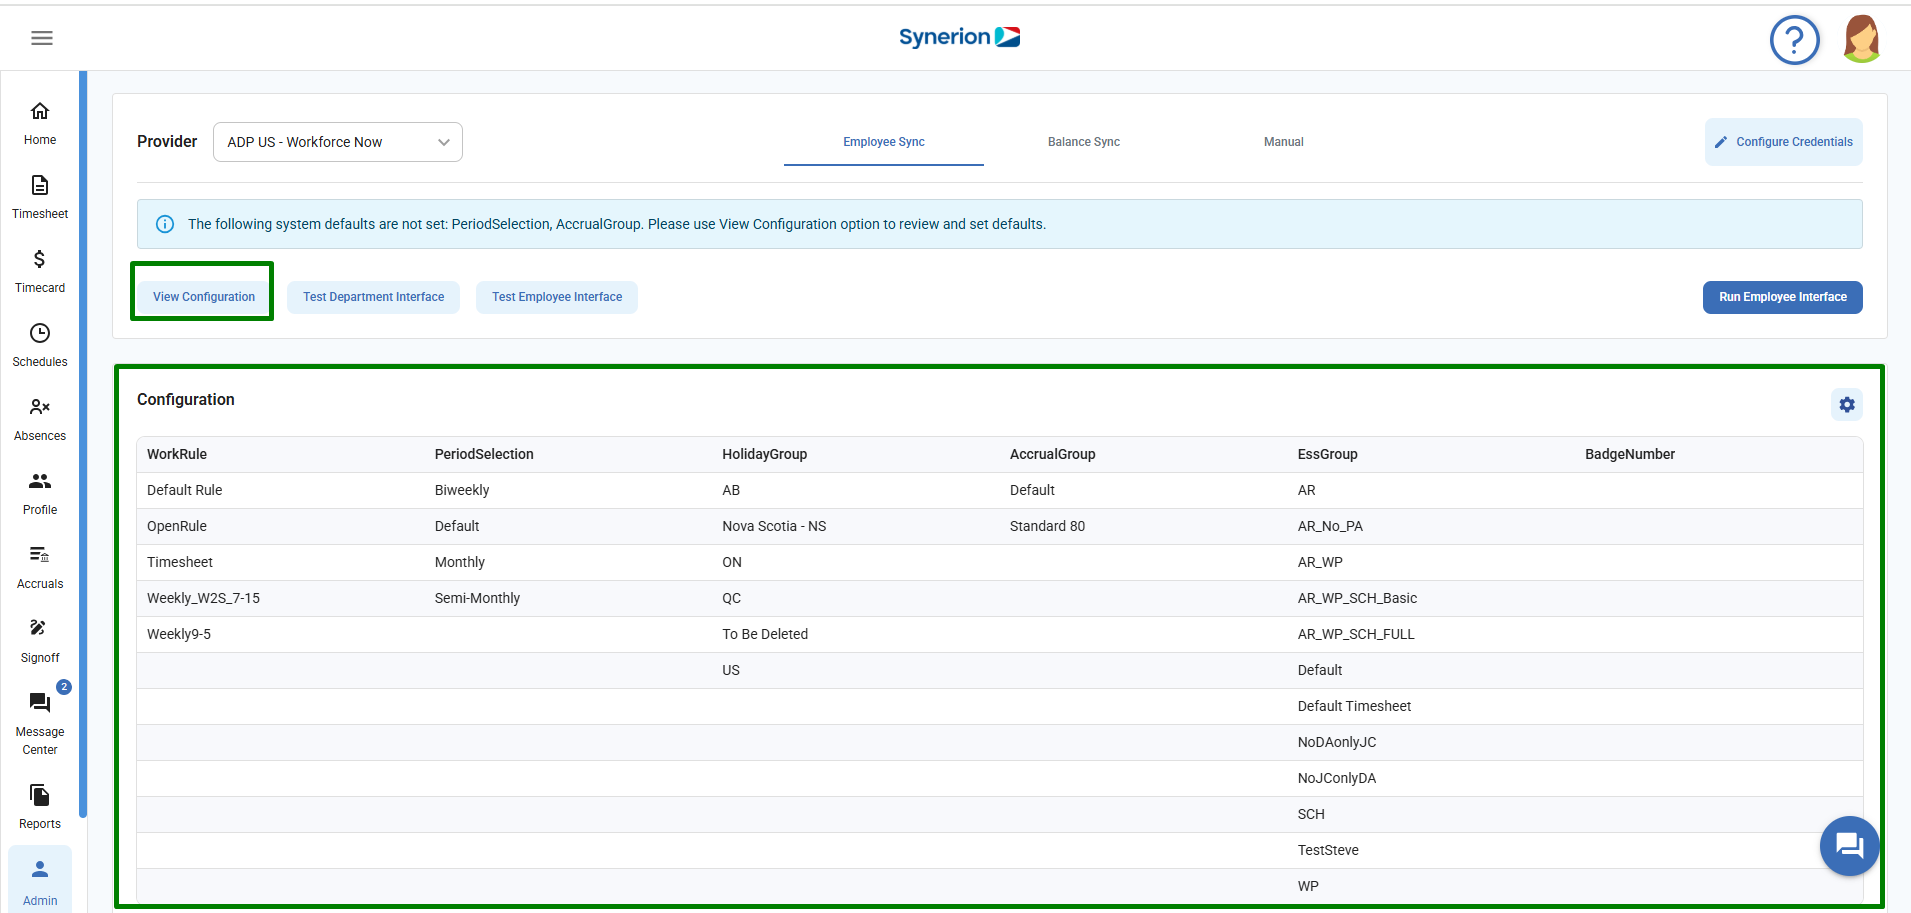
View Configuration
View Configuration allows user to view the all configurations- Work rule, Period Selection, Holiday Group, Accrual Group, and ESS Group.
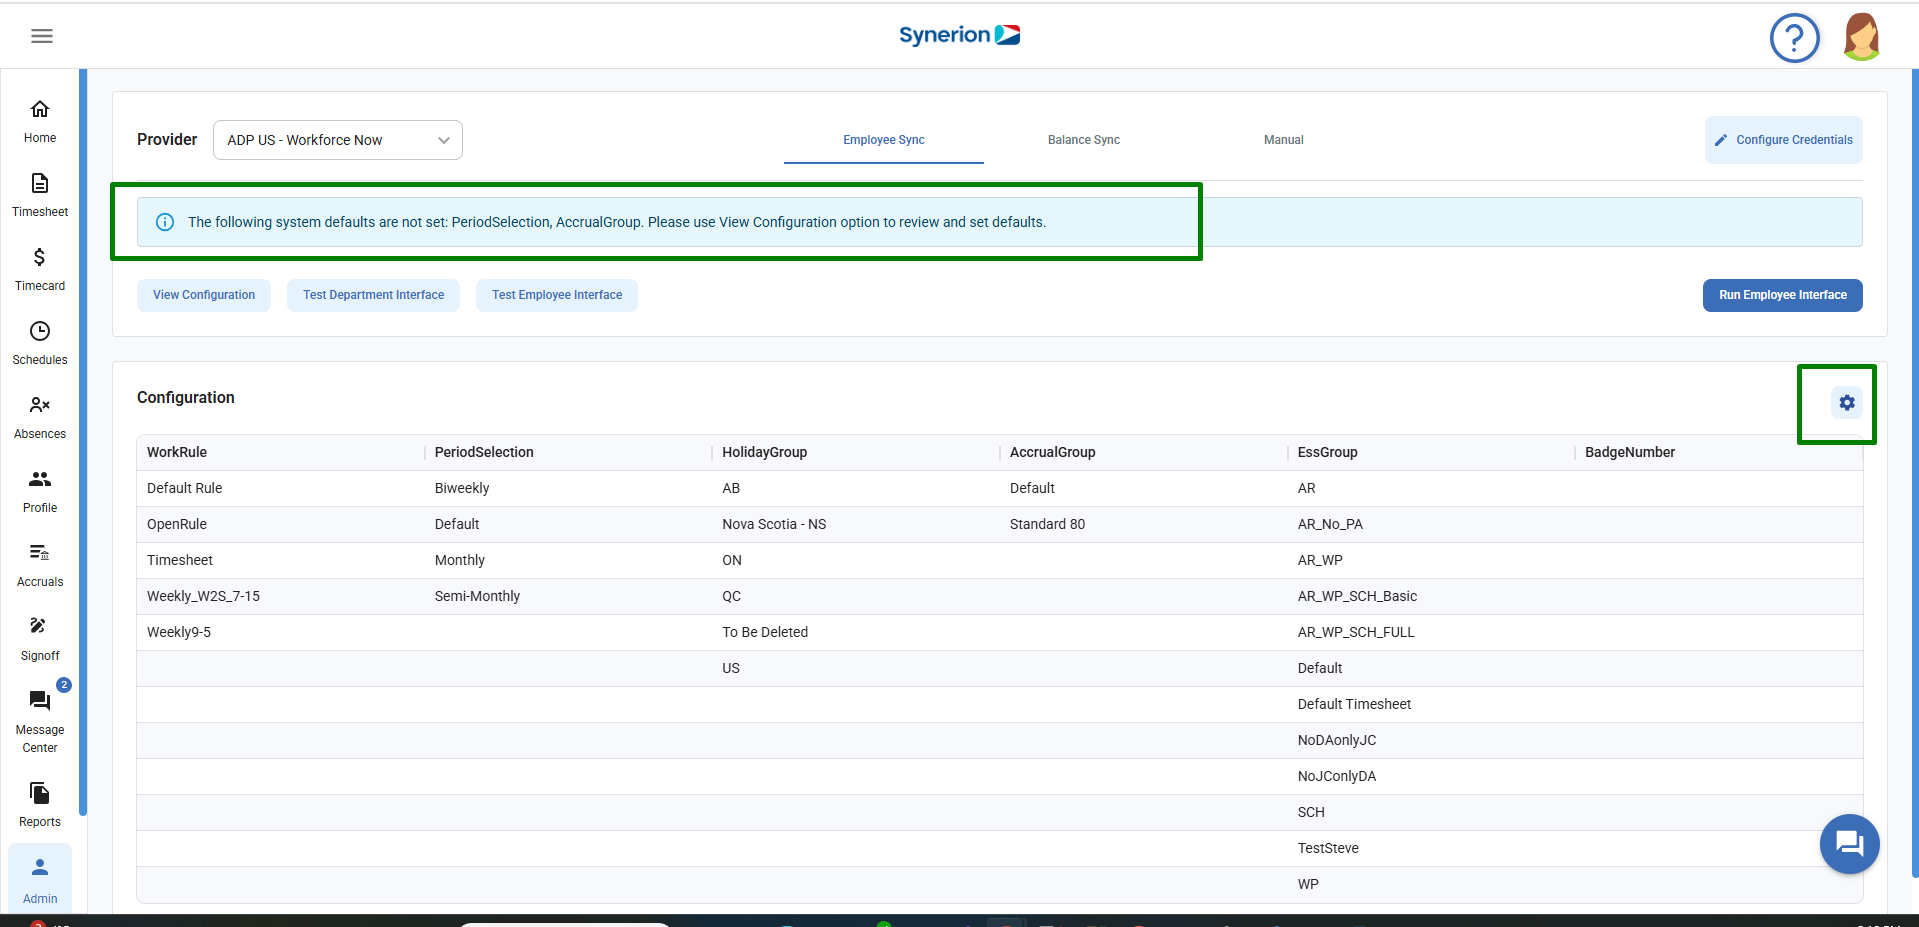
Default Settings
If user has not set the configuration, it will show a warning message for the configurations that are not set. User can click on the gear icon to set the default settings.
Set Default Settings:
To set default settings, user
- Clicks on the “View Configuration” button
- Clicks on the gear icon
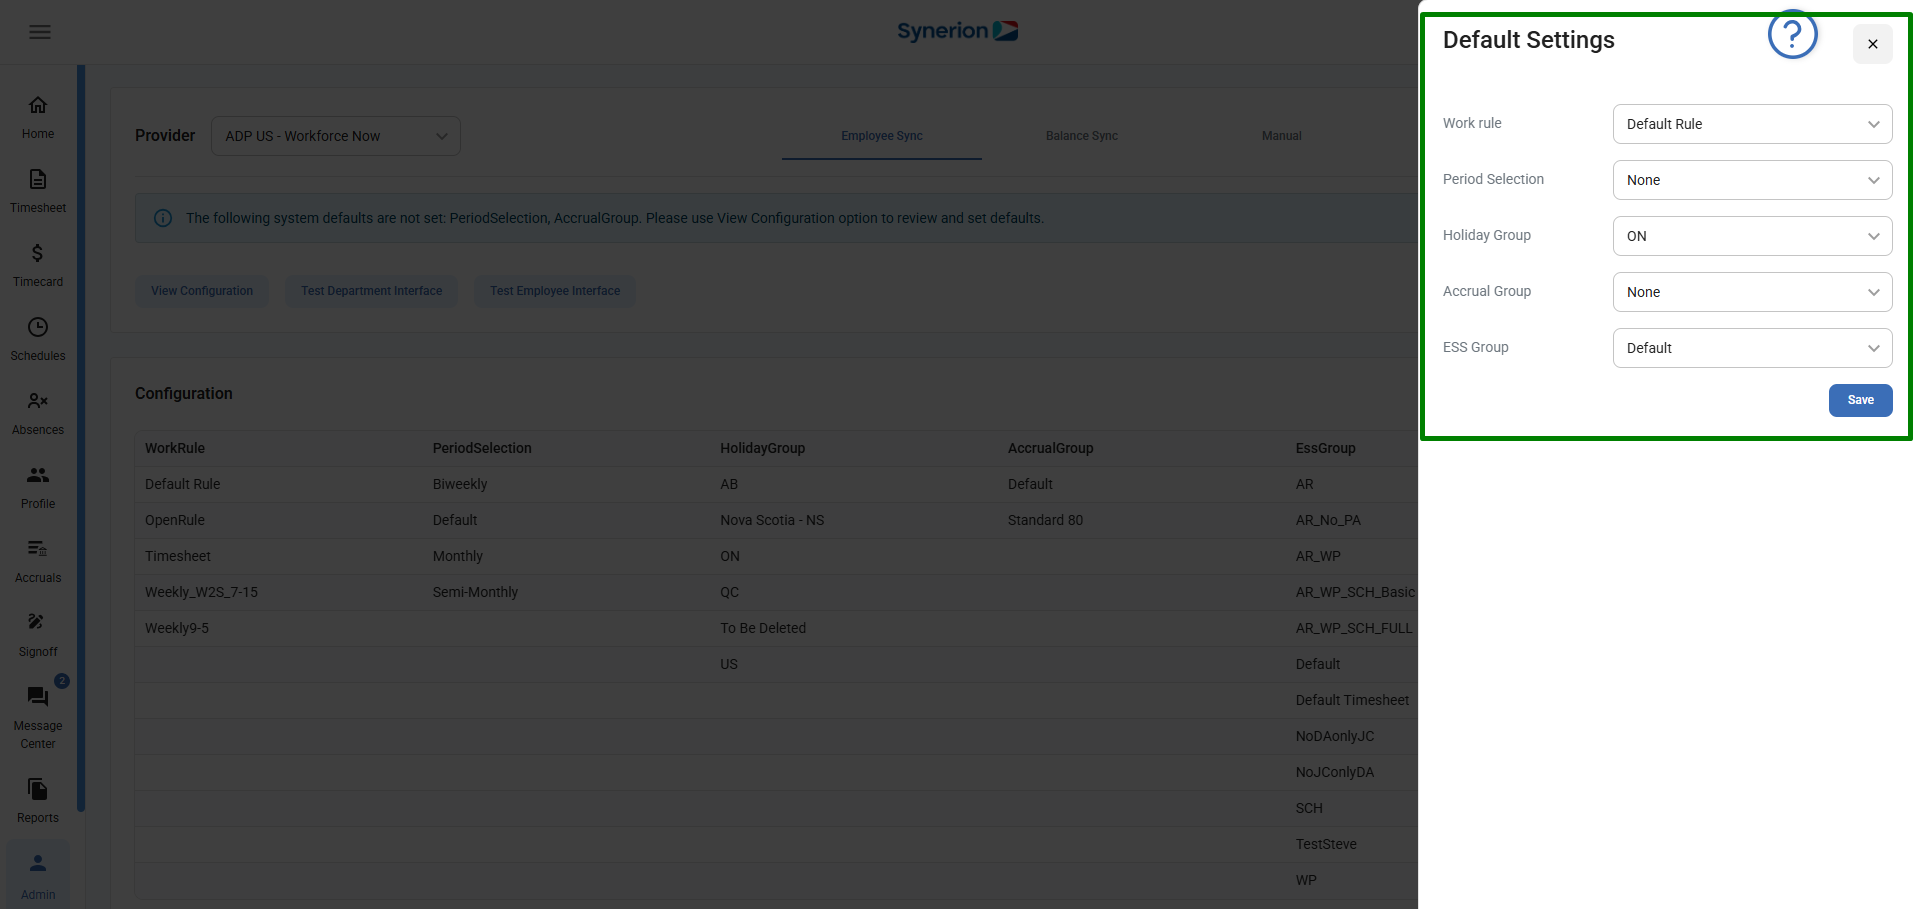
- Clicking on gear icon will open the “Default Settings” side drawer.
- User can select the settings for each group from the drop-down menu.
- Clicking on “Save” will update the default settings for the groups.
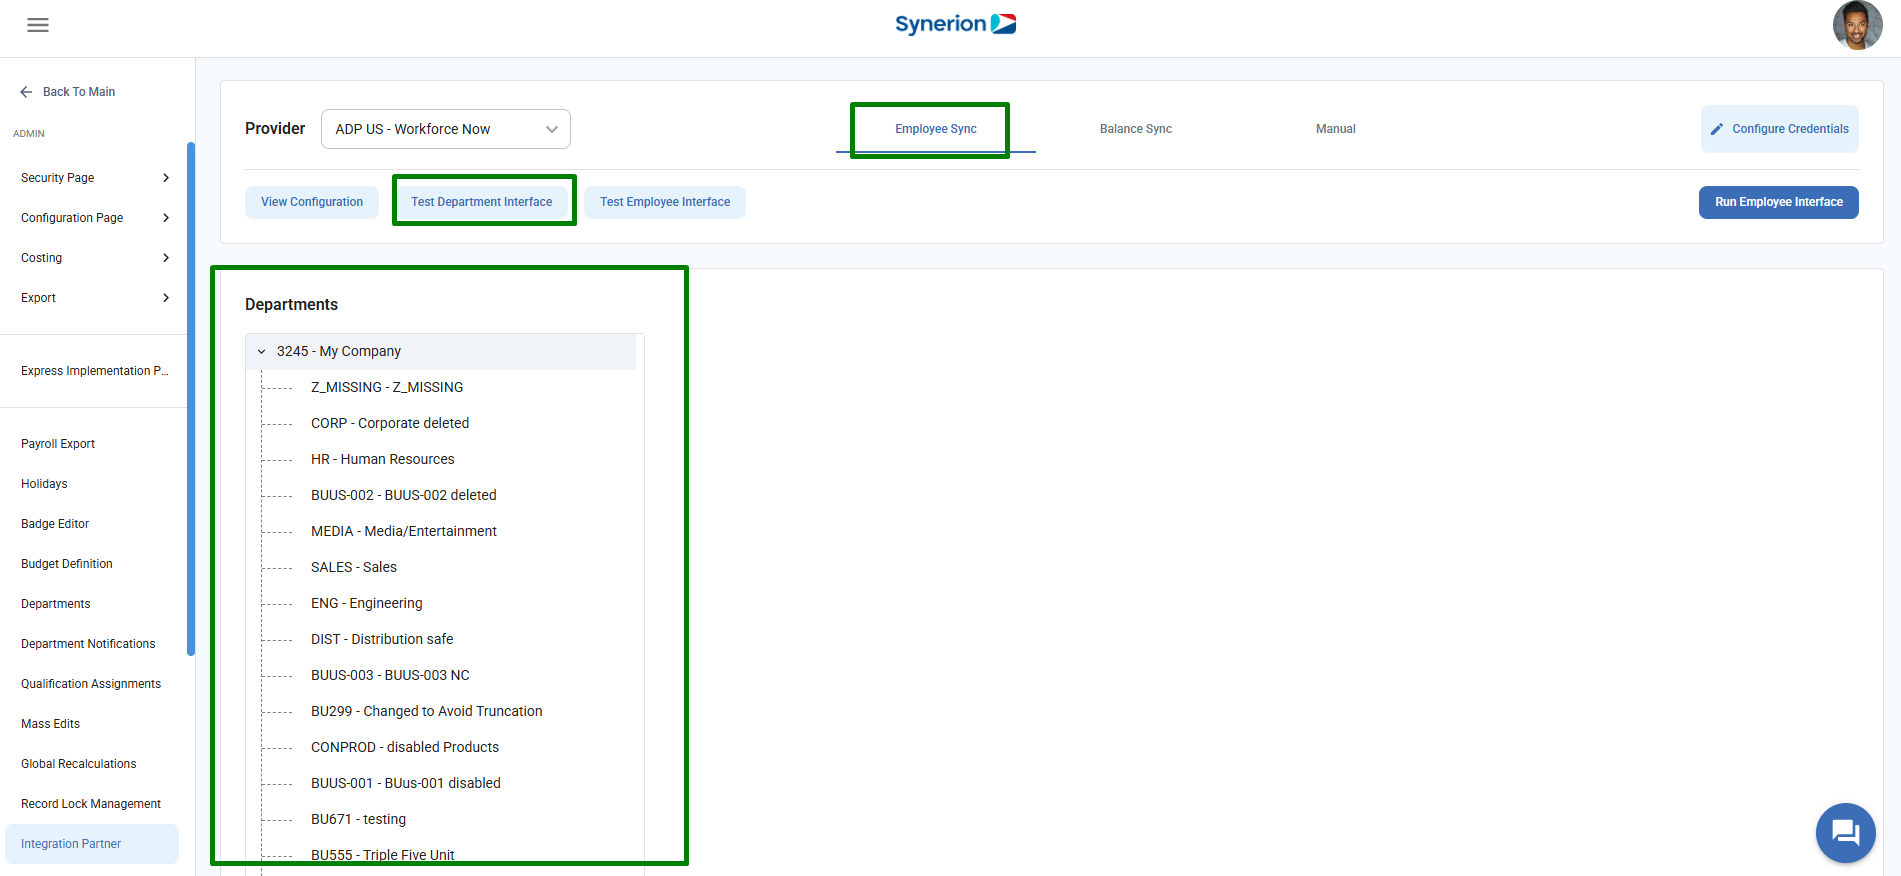
Test Department Interface
When user clicks on “Test Department Interface”, it fetches the list of all departments including child departments and show the tree structure to the user.
Follow the below steps to Test Department Interface
- Navigate to the Integration Partner option under Admin menu.
- Select a Provider name from the Provider drop-down menu.
- Employee Sync tab is Auto Selected.
- Click on “Test Department Interface“
- This displays a preview of the department structure available from the selected provider.
- View Department Tree Structure
- A tree view appears, displaying the main departments along with any child departments.
NOTE:
- When user run “Test Department Interface”, it only fetches the list of departments, not store them in the database. To save the departments in the system, user must click on “Test Employee Interface”.
- If the “AutoCreateDepartment” setting is set to False in the XML file, a clear message should be displayed to the user, and the department tree view should not be shown.
Test Employee Interface
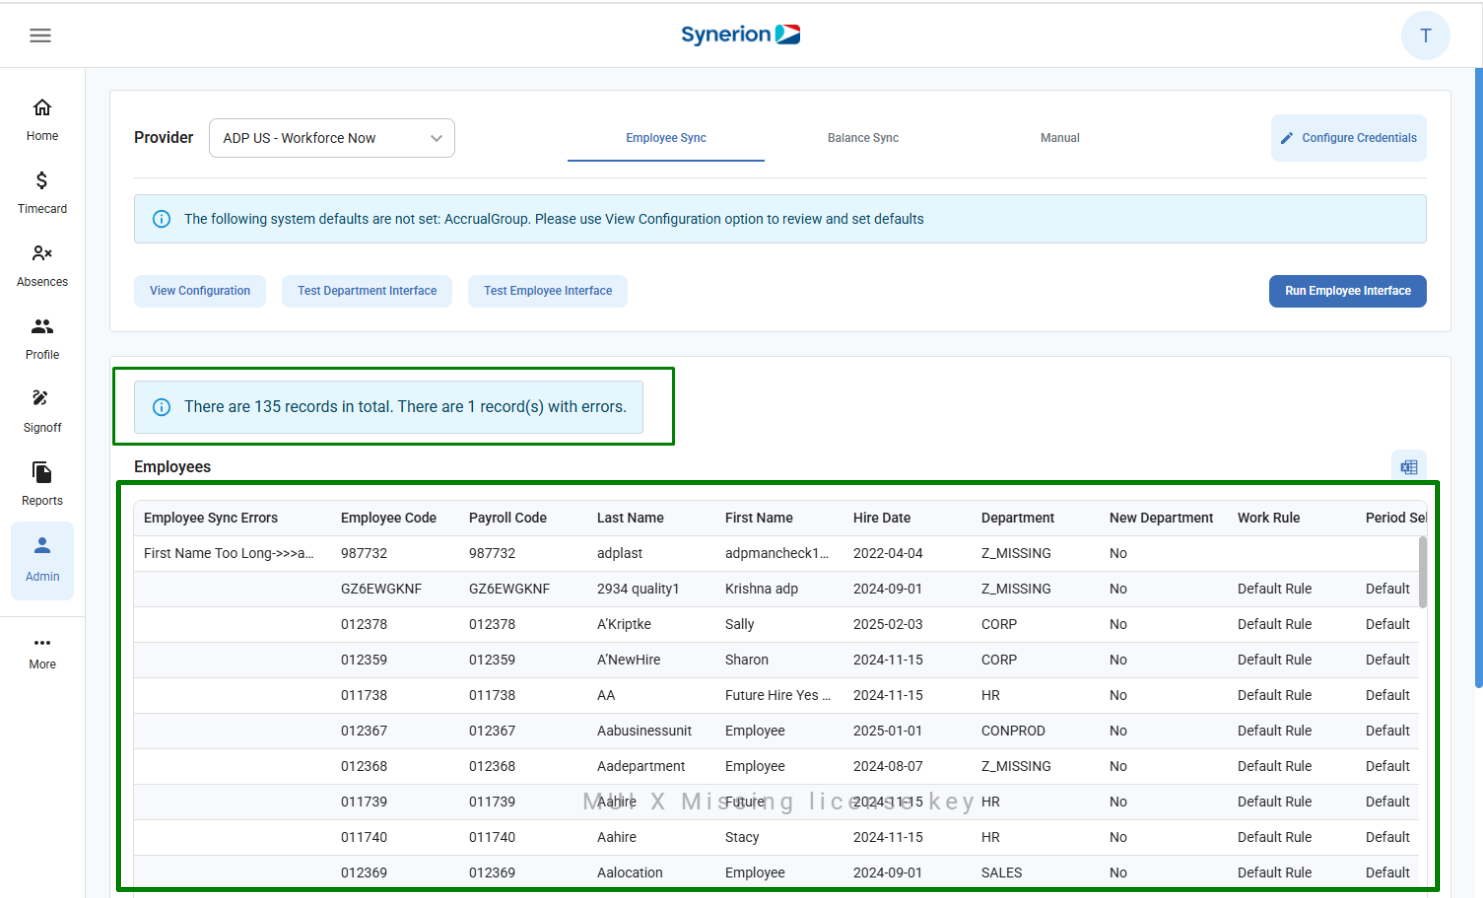
Button “Test Employee Interface” allows user to view the employee information along with employee sync errors (if any). User can view the employee information grid.
Follow the below steps to Test Employee Interface
- Navigate to the Integration Partner option under Admin menu.
- Select a Provider name from the Provider drop-down menu.
- Employee Sync tab is Auto Selected.
- Click on “Test Employee Interface“
- This displays a grid with employee information along with employee sync errors (if any).
- It will also display the summary of employee sync above the grid which includes total records and total records with errors.
NOTE:
- When the Test Employee Interface is clicked (after running the interface), the API will return the LastChangedDate along with a message to be displayed on the UI.
- If the system setting “EmployeeSync.ShowDifferencesInPreview” is enabled, an additional column should be shown to highlight the differences, displaying both the previous and updated values.
- Test Employee interface saves the departments in the system (provided the AutoCreateDepartments setting is set to true in the XML). These departments are then used to assign the home department for incoming employees. However, employees will be saved in the system only after user clicks on the “Run Employee Interface”.
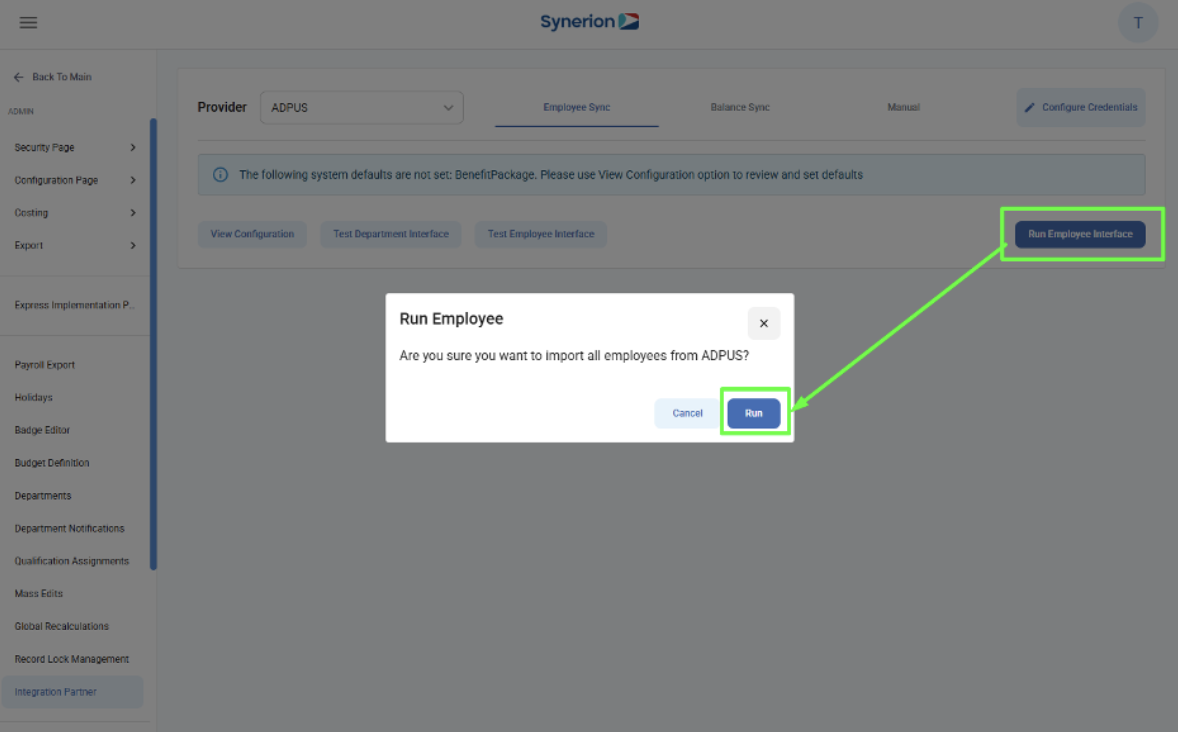
Run Employee Interface
Button “Run Employee Interface” allows user to import the employees in the system.
Follow the below steps to Run Employee Interface
- Navigate to the Integration Partner option under Admin menu.
- Select a Provider name from the Provider drop-down menu.
- Employee Sync tab is Auto Selected.
- Click on “Run Employee Interface“
- It will show a confirmation dialog, click on “Run”
- It will display the summary of employee sync – Total imported, ignored and with errors.

NOTE: “Run Employee interface” saves the employees info in the system.