
Accessing the Employee Profile in Synerion Enterprise is done through the Core HR screen.
- Log into Synerion Enterprise.
- Click on the Core HR tab.

3. The Employee Profile will appear.
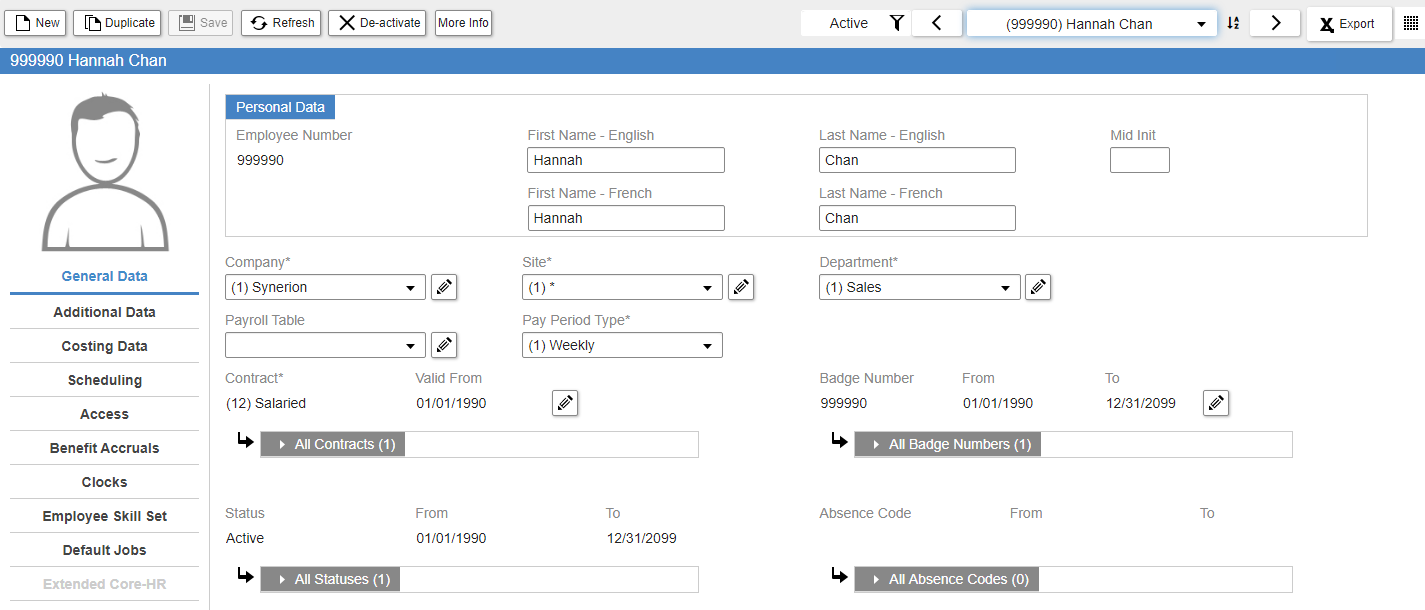
4. The Navigation bar allows you to preform various tasks:

- New: Allows you to create new records
- Duplicate: Allows you to duplicate an employee profile. This is useful when creating employees who are similar.
- Save: Saves your changes
- Refresh: Refreshes the screen after you’ve made a change
- Deactivate: Allows you to make an employee inactive
- Active: Is a filter that shows only Active Employees. When clicking on this filter button you also have the option of displaying only Inactive Employees or All Employees.
- Employee Search: Allows you to bring up an employee by typing in an employee name or number.
- <> buttons: Allow you to move to the previous or next employee.
- Export: Allows you to export the employee profiles to Excel.
5. Some customers use an interface which automatically imports new employees. Even with this automatic interface there will be items that have to be filled in manually as they usually don’t exist in the originating system. Please see the details on these fields below.
General Data (3 fields to fill out – leave the rest as defaults)
- Functional Area
- Payroll Table
- Default Contract (leave date as is – as long as it’s today or in the past)
Additional Data (8 fields to fill out – leave the rest as defaults)
- Grouping – Select the Platoon (if applicable)
- Employee Type
Personal Data
- This will come from GP, nothing to do here
Module Data (2 fields to fill out – leave the rest as defaults)
- Select the Accrual Group
- Add the rate
Scheduling (2 fields to fill out – leave the rest as defaults)
- Primary Position
- Alert Group
Access (2-4 fields to fill out – leave the rest as defaults)
- User ID will already be there by default, it comes from the import, it’s always employee number
- * if this employee is a manager or admin, they won’t use this ID, their user account will be made in a different part of the system
- * if this employee is a manager or admin, they won’t use this ID, their user account will be made in a different part of the system
- User Profile (choose one of the following if an employee)
- Always choose a profile between 1-41, the rest are for managers and admins
- * if this employee is a manager or admin, you can ignore this section, their user account will be made in a different part of the system
- Always choose a profile between 1-41, the rest are for managers and admins
- Password (default is the employee code, you can leave or change to something else if desired)
- * if this employee is a manager or admin, you can ignore this section, their user account will be made in a different part of the system
- * if this employee is a manager or admin, you can ignore this section, their user account will be made in a different part of the system
- Employee Email
- Fill this out for all employees, including managers and admins
- Fill this out for all employees, including managers and admins
- Manager Email (choose the manager that will approve the employee’s absence request)
- Fill this out for all employees, including managers and admins
- Fill this out for all employees, including managers and admins
- Clocks (1 field, and only fill in for employees who will use a terminal)
- PIN – Add in the employee’s Pin number (password for the terminal)