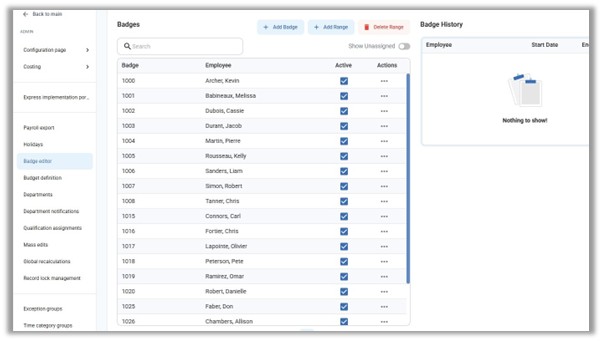
Navigate to the Admin menu, and select the Badge editor.
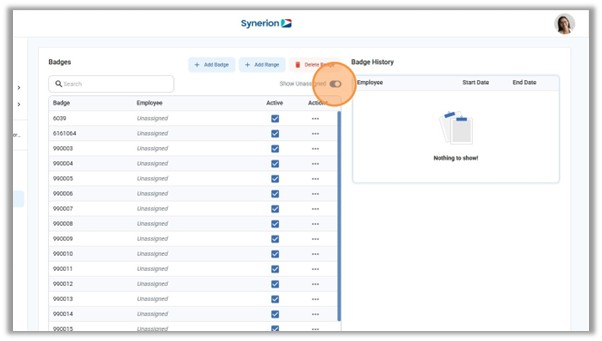
The Show Unassigned toggle will toggle between showing badges that are assigned to employees only, or all the badges in the system and their assigned status.
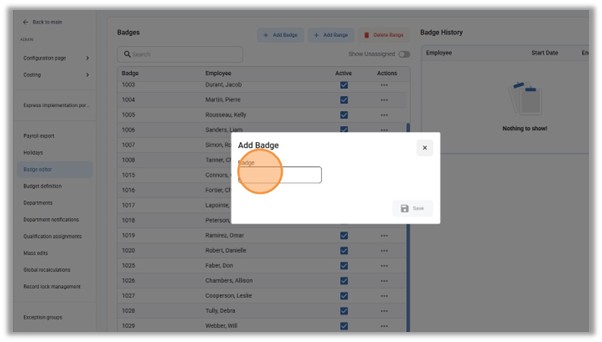
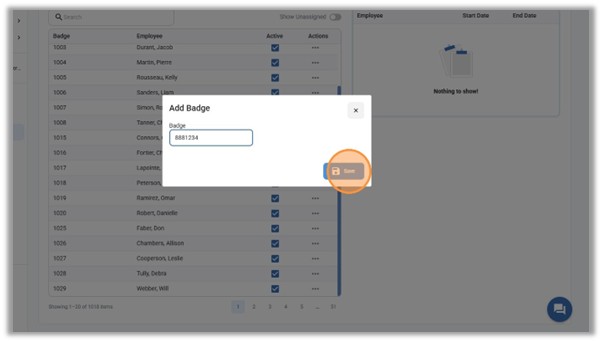
To add a single badge, click the Add Badge button.

In the badge field, enter the number of the badge you want to add.
Badge numbers are typically written on the badge or fob. Depending on the badge type, the full number may or may not be required.
When looking at several badges, there may be a set of common numbers, and a set of numbers that are different on each badge. Typically, it’s the different numbers that are entered in the Badge number field.
Example:
42132 11102236045-1
42102 11102236045-1
In the above example, the badge numbers would be 42132 and 42102.
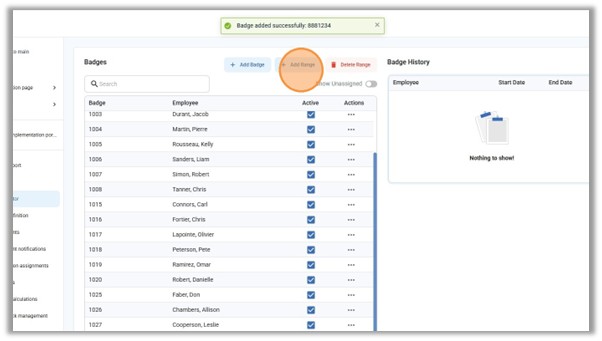
Once the new badge number has been entered, click Save.
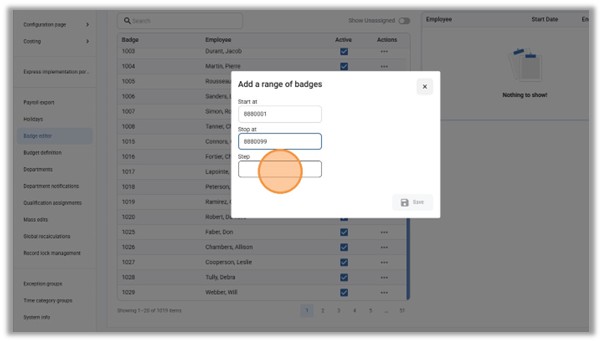
To add a range of badges, click the Add Range button.
When purchasing new badges, Synerion will typically provide a consecutive range of badges to simplify adding them to your Agile system.
In the Start at field, enter the number of the first badge in the range.
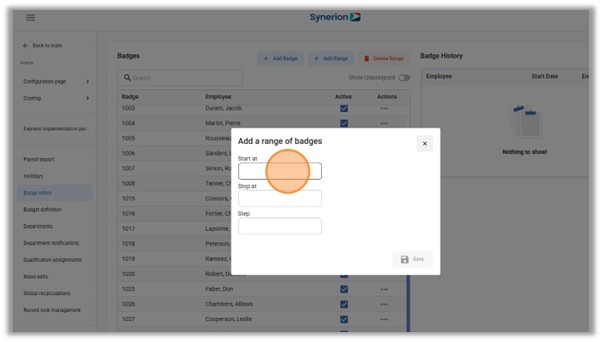
In the Stop at field, enter the last badge number in the range.
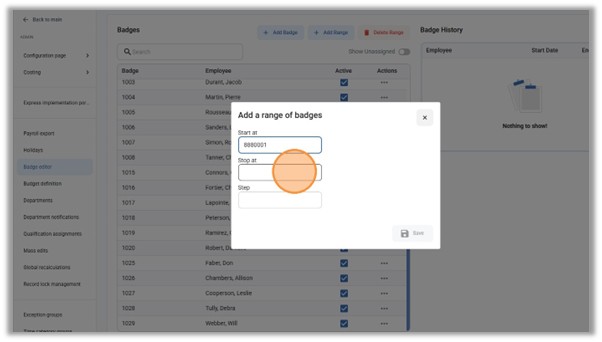
The Step field determines the number to increment the badge numbers.
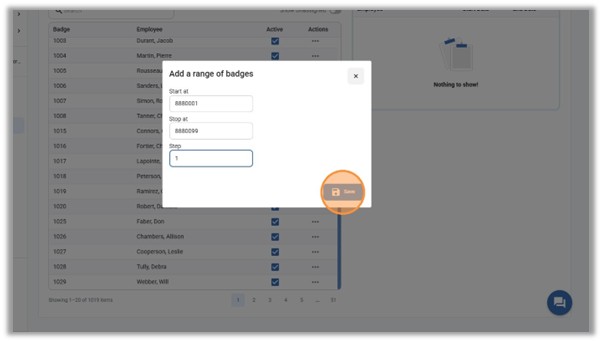
Once the correct badge numbers range and step has been entered, click Save. The range of badges will be created in the system and will be available to assign to employees.
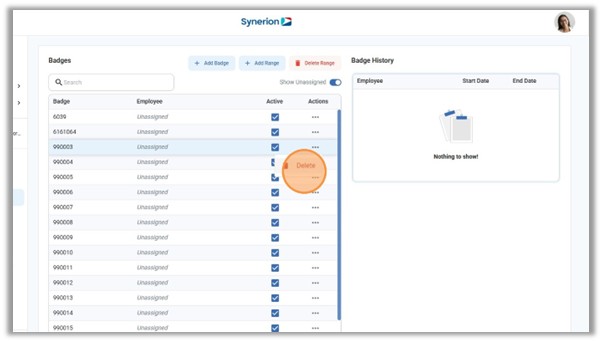
A single unassigned badge can be deleted by using the Delete button in the 3-dots menu.
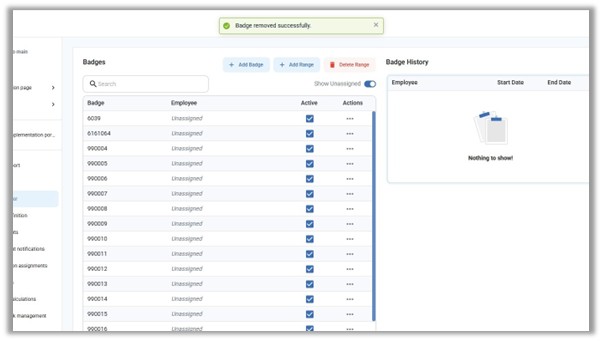
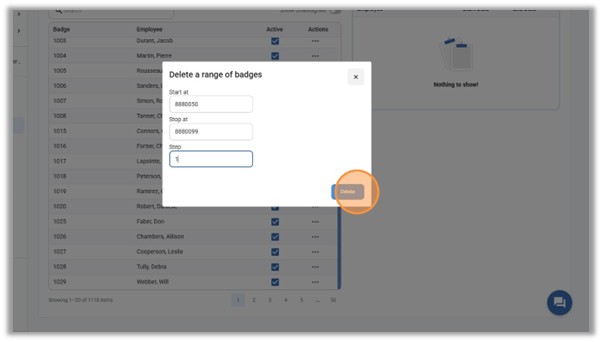
A range of unassigned badges can be deleted by using the Delete Range button.

Enter the number of the first badge and the last badge in the range that you want to delete, along with the step, and click Delete. The range of badges will be deleted.
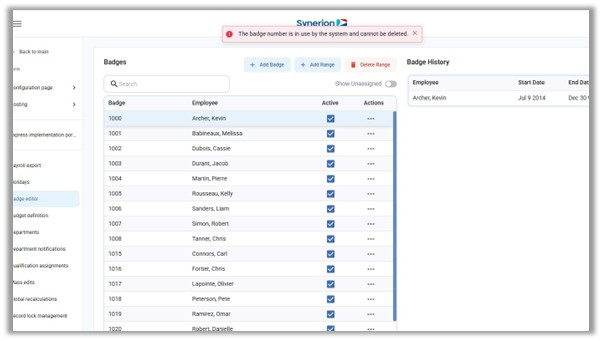
If you try to delete a badge that is assigned, you’ll see the message “The badge number is in use by the system and cannot be deleted.” Once the badge is unassigned from any employee, it will be possible to delete it.