
You will see Perfect Punches as well as records with errors or exceptions. You can easily see the difference between these as a Perfect Punch will have no notification flags beside the record.
- Log into Synerion Enterprise.
- Click on the Attendance tab at the top of the screen.
![]()
- The Attendance Management screen is launched.

- Click on Direct Employees or My Employees.
Direct Employees will show only those employees who report directly to you.
My Employees will show all employees you have access to view.
![]()
- Use the Date Selection field to select the date range or pay period you would like to review. Click on the date range to activate then the selection window will appear.
![]()
For Date Range: Click Date Range and select appropriate dates from the calendar and click Apply.
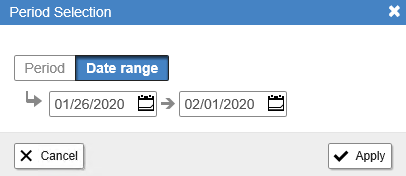
OR
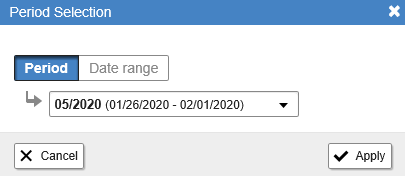
For Pay Period: Click Period and select appropriate period and click Apply.
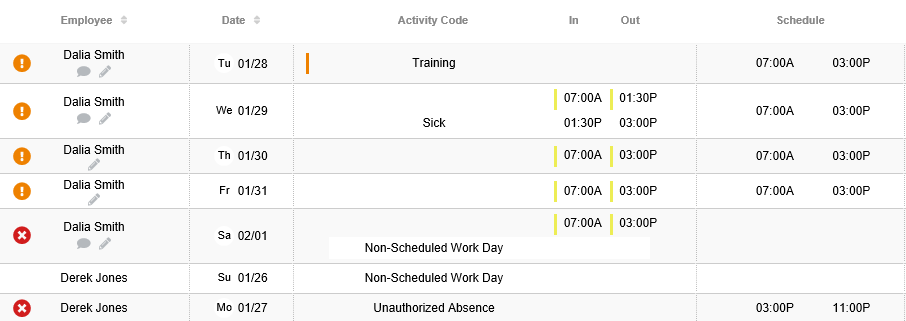
- You will now see all of the attendance records for the selected range.
![]() indicates an error and
indicates an error and ![]() indicates an exception.
indicates an exception.
“Finding a Specific Attendance Records”
Periodically you may need to call up a specific attendance record.
- Follow the steps from the Accessing Attendance Records section.
- Remove any filters already applied by pressing the clear filter button.
![]()
- Click on the field that says Employees then start typing the employee name in the search box. As you type the system will narrow down the possible options. If you see the one you want before you finish typing, simply click on it to select it. Once finished, click on a blank area of the screen to make the employee search window disappear.

- Select the period or date range you are looking for.
![]()
Note: screen shots for the period and date range selection screens are displayed in Step 5 in the Accessing Attendance Records section above.
“Reviewing Perfect Records”
Perfect records are records where the punches don’t deviate from the schedule enough to create errors or exceptions. These records still need to be approved so that payroll knows when all records have been reviewed and they can process payroll.
- Follow the steps from the Reviewing Notifications section, select Unapproved Records.
- Select the record by clicking on it. You will know which record is selected because the whole row will be highlighted.

- Review record to ensure that there are no additional items to approve:
- Notes from the employee
- Manual Categories
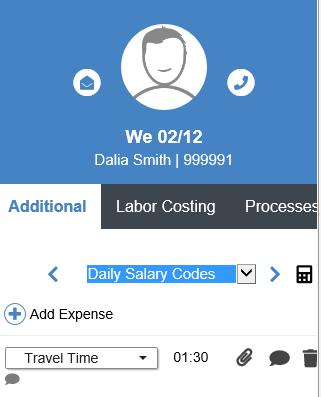
- Salary Codes
Notes are indicated by the presence of a speech bubble under the Employee’s name.
![]()
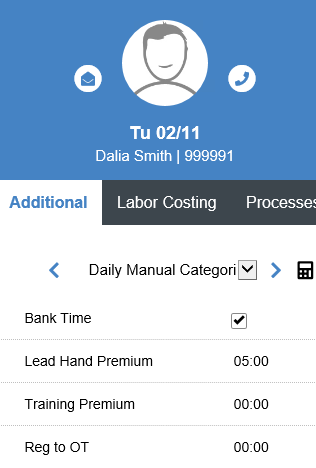
The Daily Manual Categories section of the Additional Data panel on the right side will show you the details of any Manual Categories chosen.
The Daily Salary Codes section of the Additional Data panel on the right side of the screen will show you the details of any Salary Codes chosen.
***Note: if any Notes, Manual Categories or Salary Codes exist please refer to the specific sections below for details on how to handle these.***
- Once you ensure that there are no additional items to review, click the Approve record box.

- Save your changes by clicking the Calculate and Save button.
![]()