
Late entry exceptions occur when the employee’s first punch is after his/her scheduled start time. Early exit exceptions occur when the employee’s last punch is before his/her scheduled end time. You must review these entries and decide whether you wish to pay some or all of the missing time.
Below are the instructions to follow to add a partial absence to cover the missing time.
- Follow the steps from the Reviewing Notifications section, select Late ins/Early outs.
- Select the record by clicking on it. You will know which record is selected because the whole row will be highlighted.
Hover your cursor over the Exception Notification and a pop-up window will explain what the exception is.

- Click on the button that looks like three dots and select Add Partial Absence.

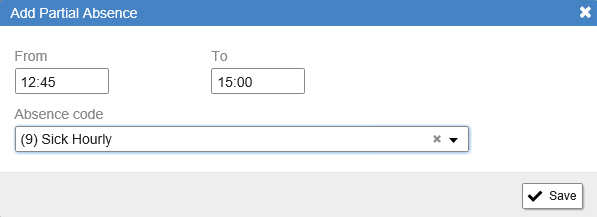
- Enter the times for the partial absence and select the appropriate absence code from the Absence Code drop-down list. Click Save.
Note: Some absences are tied to benefit entitlements. As a result, there are times where an employee will be absent and there isn’t enough balance to cover the absence. When this happens, you will either have to ask HR for an exception (they will need to add enough to the entitlement to cover the absence) or you will have to use an unpaid absence code.
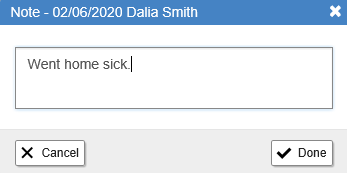
- You may also add a note to record the reason for the absence. When finished click Done.

- Save your changes by clicking on the Calculate and Save button.
![]()
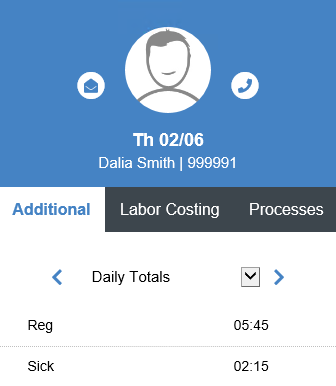
- Review the updated Daily Totals in the Additional Data panel on the right.
Note: Some absences are tied to benefit entitlements. As a result, there are times where an employee will be absent and there isn’t enough balance to cover the absence. When this happens, you will either have to ask HR for an exception (they will need to add enough to the entitlement to cover the absence) or you will have to use an unpaid absence code.
- If everything looks correct click the Approve record box.

Note: you will have to save the record once approved using the Calculate and Save button ![]() but if you have more records that require attention you may continue to address them and do a final save before you leave the attendance screen.
but if you have more records that require attention you may continue to address them and do a final save before you leave the attendance screen.